That happens because cyberpunk character design isn't a costume filter. It's a layered decision-making process built from role, silhouette, function, material, lighting, and personal cost. Neon can decorate a strong character, but it can't rescue an undecided one.
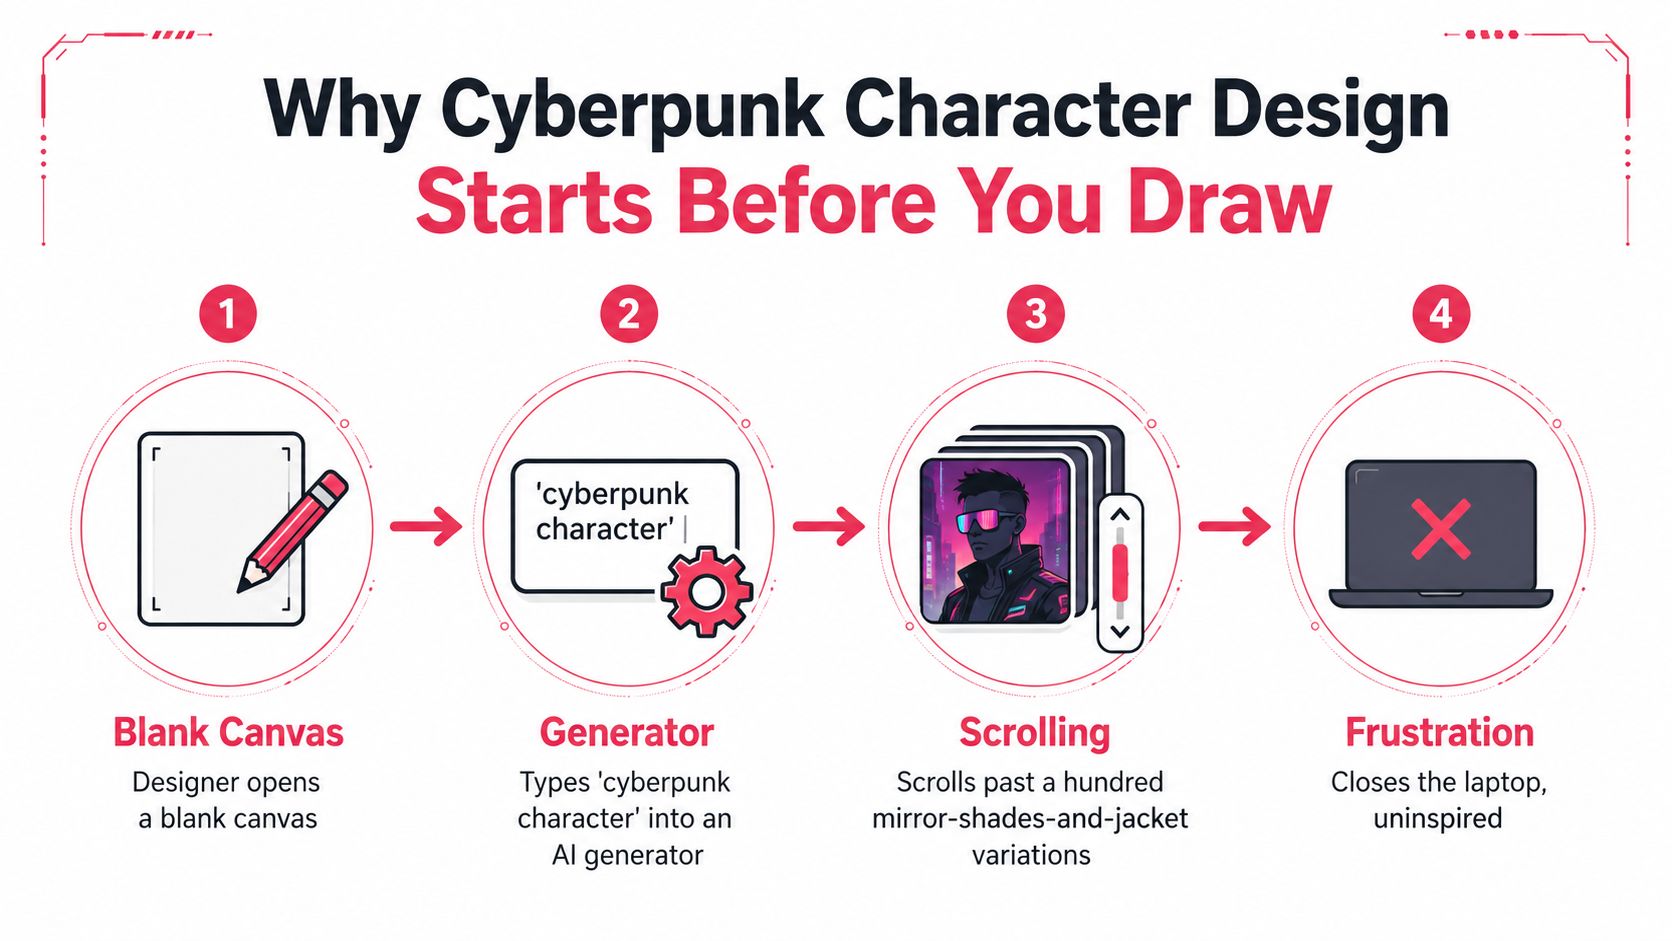
Why Cyberpunk Character Design Starts Before You Draw
A reliable workflow begins before the sketch or prompt. I use four stages:
- Concept brief: Decide who the character is, what they want, what threatens them, and where they operate.
- Archetype decision: Choose the job or social role that shapes their behavior and equipment.
- Silhouette pass: Reduce the design to a readable mass, pose, and outline.
- Detail and lighting: Add augmentation, clothing wear, materials, color, reflections, and atmosphere.
The generator belongs at the end. If you ask for an image before deciding whether your character is a courier, corporate operative, street mechanic, or information broker, the prompt has to solve every problem simultaneously. It usually responds with familiar genre signals, especially dark jackets, glowing implants, reflective glasses, and saturated signage.
Practical rule: If the character doesn't read in a flat silhouette, more surface detail will only make the confusion harder to fix.
Write the brief in plain language first. “A tired freelance medtech who keeps illegal patients alive with salvaged corporate equipment” gives you more design direction than “badass neon cyberpunk woman.” The first statement implies medical tools, concealment, improvised repairs, fatigue, and an uneasy relationship with corporate technology.
The tabletop game Cyberpunk, first released in 1988 and later expanded as Cyberpunk 2020 in 1990, helped formalize this kind of thinking by tying identity to body modification, cybertech, bioengineering, attitude, equipment, and role. Its ten roles included rockerboys, solos, netrunners, nomads, fixers, medias, techs, medtechs, corpos, and lawmen, while its Lifepath system connected appearance to background and motivation. You can study that role-based foundation in this historical overview of Cyberpunk character creation.
For a personalized comic, the same preparation prevents page-to-page drift. A finished character brief can guide a workflow such as the one described in how to create your own characters, whether you draw the pages manually or use an AI-assisted pipeline. Make the structural decisions once, record them, and only then turn them into prompts.
The Archetypes That Shape Every Cyberpunk Look
Cyberpunk roles work because they convert story into visible behavior. A Solo doesn't just carry weapons. They assess exits, protect their centerline, and wear equipment they can reach without looking. A Netrunner doesn't merely have glowing eyes. Their clothing, posture, and interface hardware should show someone who spends more time managing information than controlling a room physically.
The role system associated with Cyberpunk 2020 gives artists a useful design vocabulary. Modern stories remix these archetypes, but they rarely discard the underlying logic. Start with one dominant role, then borrow a secondary role only when the combination creates tension.
| Archetype | Posture Cue | Signature Gear |
|---|---|---|
| Solo | Canted weight, guarded shoulders, controlled head movement | Smart weapon, armored forearm, compact trauma kit |
| Netrunner | Forward neck, inward focus, hands close to the interface | Deck, trodes, neural jacks, signal scrambler |
| Techie | Weight shifted toward the tool side, alert hands | Scanner gauntlet, modular wrench, diagnostic lenses |
| Fixer | Relaxed stance that hides constant observation | Contract slate, concealed comms, adaptable coat |
| Nomad | Wide balance, road-ready legs, protective shoulders | Padded jacket, cargo rig, dust mask, vehicle keys |
| Media | Open chest, searching gaze, stance ready for witnesses | Recorder, broadcast patch, evidence storage |
| Corpo | Upright posture, economical gestures, deliberate distance | Encrypted tablet, polished interface rig, access badge |
The Solo silhouette benefits from a clear center of gravity. Put mass around the torso or dominant arm, then keep the legs practical enough for movement. A long coat can work, but it should support the character's tactics, not stand in for them.
A Netrunner needs a different rhythm. Use a narrow body shape, a hooded shell suit, a shaved skull with visible jacks, or a visor that turns the face into an interface. Keep the hands close to the body, as though the character is always protecting a private conversation.
Hybrid roles create stronger visual friction
Choose two roles and assign each one a visible responsibility. A Netrunner-Fixer might wear a compact hooded shell suit under a polished contract coat. Their posture stays inward and analytical, but the outer garment opens into a confident, socially legible shape. A Solo-Techie could carry a smart weapon while exposing a scanner gauntlet and replacement tool fingers, creating a character who survives through both force and repair.
Don't split every feature evenly. Let one archetype control the silhouette and let the second control the gear. This keeps the design readable instead of turning it into a catalogue of references.
Role-first thinking also gives AI prompts better constraints. “Cyberpunk character” describes an aesthetic. “Nomad medic with a guarded stance, dust-worn padded jacket, exposed field repair kit, and one repaired ocular implant” describes a person with a production-ready design direction.
Silhouette and Costume as the First Design Layer
Start with a one-color thumbnail. Fill the entire figure with a solid dark shape and ignore texture, logos, seams, and facial detail. At this stage, you're testing whether the viewer can identify the role from body mass, posture, and equipment placement.
Use three quick adjustments:
- Change shoulder width: Broad shoulders suggest protection, authority, or physical labor. Narrow shoulders can support secrecy, speed, or technical focus.
- Change the head-to-body relationship: A helmet, hood, oversized visor, or exposed cranial hardware can alter the character's social presence before you draw a face.
- Interrupt the outline: Antennae, rigging, a weapon, a hanging cable, or a broken mechanical component creates an irregular edge that helps the figure stand apart.
A comic character may occupy a small panel, so the silhouette has to survive reduction. Squint at the drawing or shrink it until internal details disappear. If the figure still reads as a Netrunner, Nomad, Solo, or Techie, the foundation is working.
Build the costume in controlled layers
The first layer is the base garment. Let it follow the role. A Netrunner may need a close-fitting interface suit, while a Nomad benefits from layered clothing that protects against weather and dust. The second layer is the shell, such as a coat, armored vest, hood, or utility overshirt. This layer defines the outer contour.
The third layer is where asymmetry earns its place. Add a heavy shoulder rig on one side, a damaged antenna on the other, or a hanging cable that shifts the balance. Keep these props chunky enough to read as shape, not as tiny decoration.
A strong silhouette should announce the character's job before the viewer notices the neon.
The common failures are predictable. An evenly inflated jacket gives the body no hierarchy. A rigid T-pose removes intent from the arms and shoulders. Mirrorshades become a shortcut for personality, but they don't tell us whether the wearer is hiding, scanning, negotiating, or preparing to attack.
For more guidance on turning personality into readable visual choices, use this resource on designing comic characters. The useful test is simple: fill the figure black, squint, and ask what the character does for a living. If the answer is “wears cyberpunk clothing,” the silhouette isn't finished.
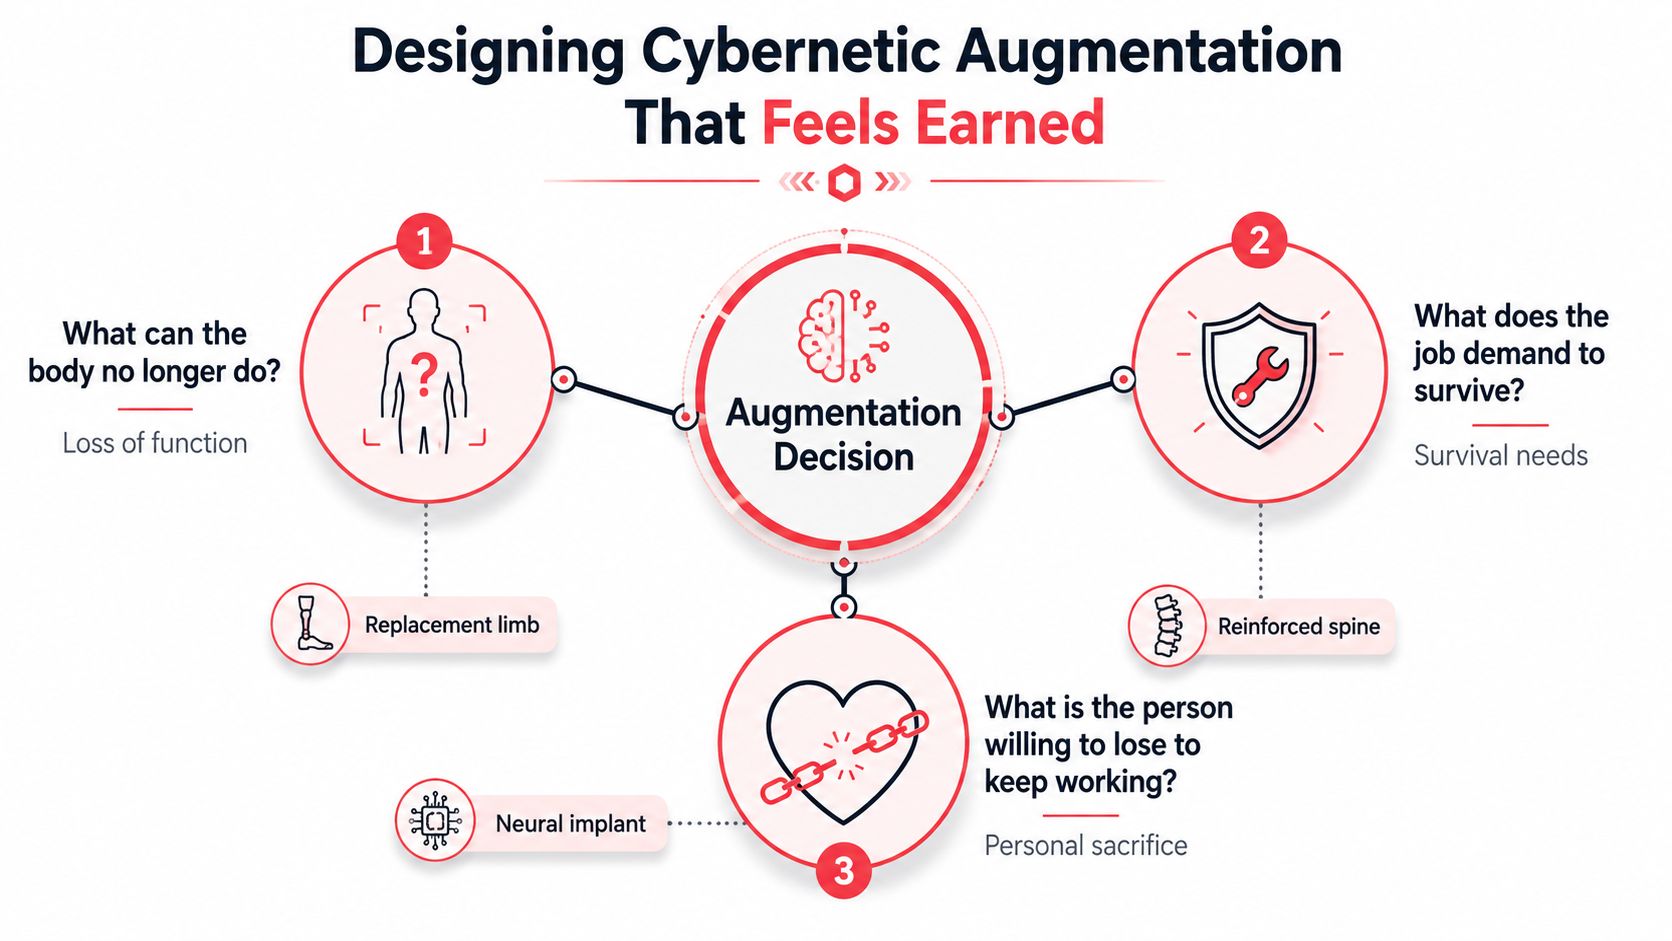
Designing Cybernetic Augmentation That Feels Earned
Chrome should answer a problem. Before adding a mechanical eye or replacement limb, ask three questions: What can the body no longer do? What does the job demand it survive? What is the person willing to lose to keep working?
Those questions turn augmentation into character design rather than ornament. A damaged courier might need reinforced knees and a respiratory filter. A soldier might need a stronger spine, but the replacement could limit flexibility or make rest painful. A street surgeon may carry delicate neural tools in a forearm that looks less powerful and more precise.
Map the answer across four augmentation zones:
- Sensory: Eyes, ears, neural jacks, smell filters, and signal receivers change how the character observes a scene.
- Skeletal and motor: Hydraulic limbs, reflex hardwire, grip servos, and reinforced joints affect movement and stance.
- Subcutaneous: Armor plating, hidden blade rails, oxygen reserves, and implanted storage remain partly concealed until the story reveals them.
- External: Weapon arms, drone bays, antennae, and detachable modules create the largest silhouette changes.
Draw the replacement, seam, and consequence
For each augmentation, make a small before-and-after study. Show the original body shape, then the altered version. This reveals whether the implant changes balance, reach, neck movement, clothing fit, or gait.
Next, design the seam where metal meets skin. Use surgical staples, flexible synthetic tissue, recessed plates, cable channels, or an old scar. The transition should explain how the body accommodates the machine. A perfectly clean connection often feels like a product render. A maintained but visibly repaired connection suggests a life outside the showroom.
Finally, add wear. Scratched plating, mismatched fasteners, grease near a joint, heat discoloration, or a replacement panel from another manufacturer can show years of use without relying on exposition. The character's maintenance habits should also reveal personality. A meticulous Corpo keeps every seam aligned. A desperate Nomad patches the same actuator with whatever survives the road.
The humanity cost gives the upgrade narrative pressure. A soldier with a replaced jaw may communicate through a synthetic voice. A runner with heavily mechanical legs may move with perfect efficiency but struggle with ordinary human gestures. Don't treat those consequences as universal rules. Choose one cost that the plot can call on, then make it visible in the design.
If a prosthetic has no job, remove it. Every mechanical feature should support an action, create a limitation, expose a history, or force a choice.
Color Palettes and Lighting for Cyberpunk Mood
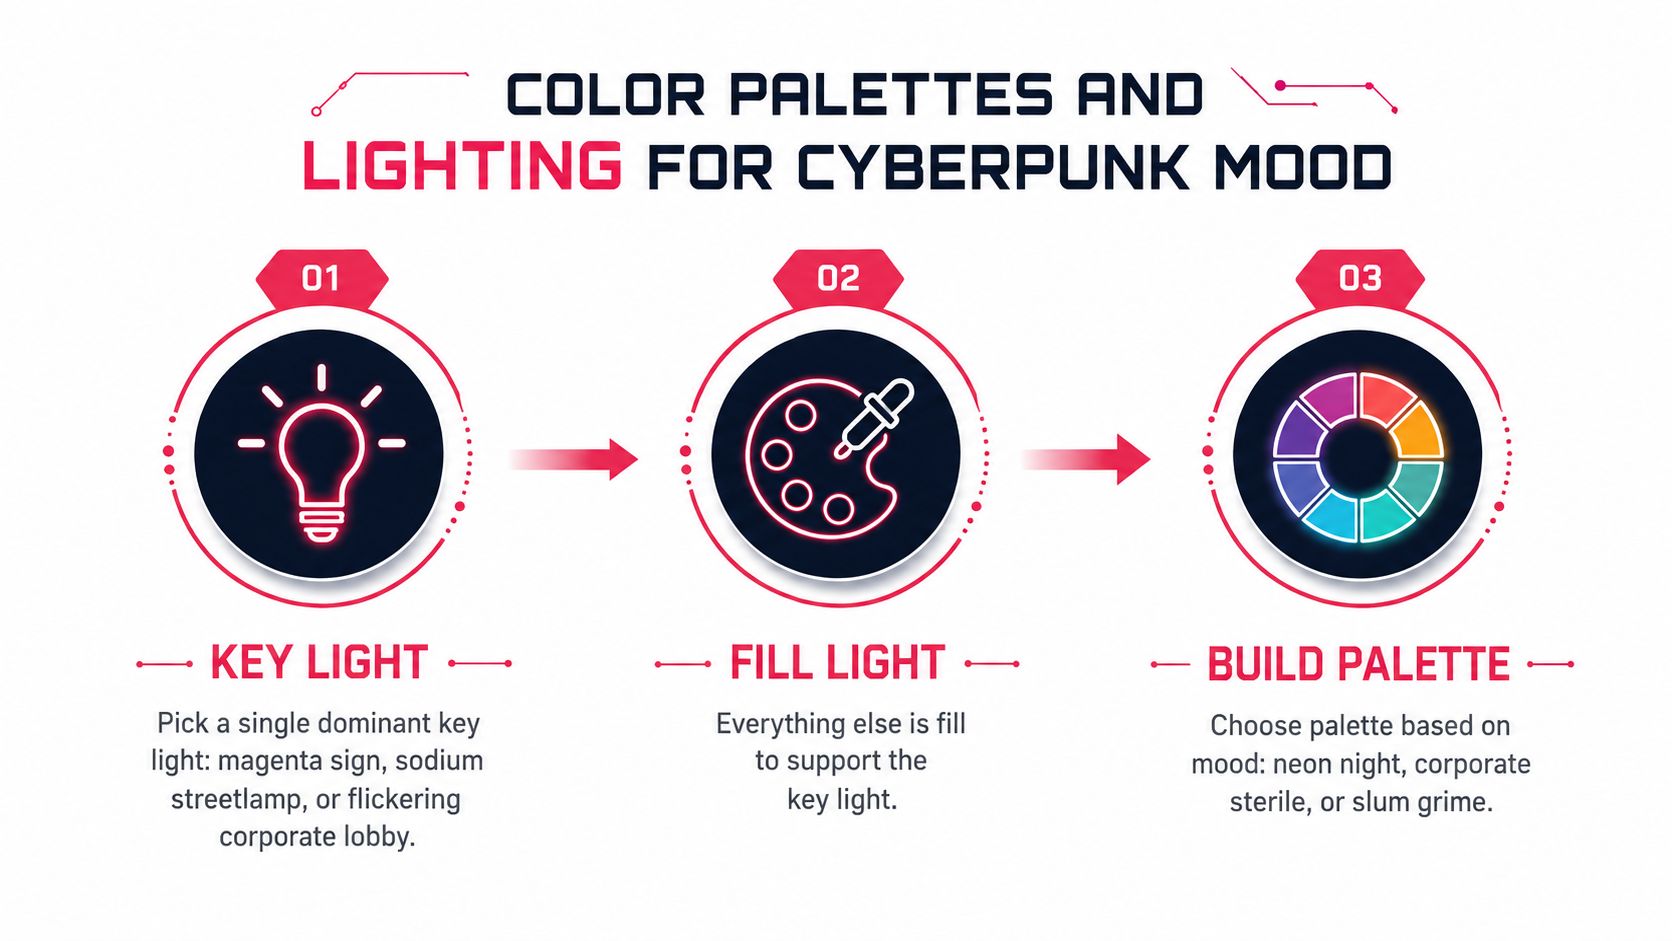
Stage the light before polishing the costume. Choose one dominant source, such as a magenta sign, a sodium streetlamp, or a flickering corporate lobby. Let the rest of the environment support that source instead of competing with it.
Build the palette in three layers:
- Desaturated base: Use restrained values for skin, cloth, concrete, dust, and worn metal.
- Saturated accent: Reserve stronger color for screens, reflections, rim light, and selected interface elements.
- Punctuation color: Place one high-impact color on a single focal feature in the panel, such as an ocular glow, weapon charge, lipstick, or warning symbol.
The classic pink-and-cyan treatment can work, but it becomes generic when every surface glows. Recent trend coverage describes a shift toward grain, distortion, dense shadows, tactile materials, and more human visual imperfections, with broader design commentary also pointing toward punk, grunge, maximalism, and analog textures. You can explore that direction through this cyberpunk design trend overview.
Use a four-pass rendering sequence
Block the values first. Establish the figure against the background with simple dark and light masses. If the character disappears now, neon won't fix the composition.
Add ambient occlusion. Deepen contact points under the collar, between armor plates, beneath the arms, and around mechanical seams. These shadows anchor the costume to the body.
Paint colored bounce. Push the key-light color into nearby edges and surfaces, but let it weaken as it travels. A magenta sign can tint one cheek and a metal shoulder without turning the entire figure pink.
Finish with specular accents. Add sharp reflections to wet pavement, polished chrome, lenses, and fresh synthetic surfaces last. Clip Studio Paint or Photoshop both work well for this staged approach, and a restrained final pass keeps the page legible when printed.
When the panel feels loud, remove light before adding more. A dark gray raincoat with a single teal reflection can carry more mood than a full wardrobe of glowing panels.
Pose, Expression, and Backstory Hooks
Use this order: pose first, costume second, face last. The body carries the story before the viewer can resolve the character's facial details, especially in a comic panel viewed at a small size.
Three pose families cover a lot of cyberpunk storytelling:
- The lean: Weight rests on one leg, with a hand in a pocket or near a holster. The character scans the crowd while pretending to relax. It suits Fixers, Medias, and experienced Solos.
- The crouch: The figure perches on a pipe, bends the knees, and tucks the chin. This shape implies a runner, ambusher, courier, or person ready to drop into an escape route.
- The stand-tall conflict: Feet planted, shoulders back, weapon visible but not raised. The character claims space and controls escalation. It fits Corpos, lawmen, and Solos who want to be seen.
Match the pose to the dominant archetype before refining the costume. A Netrunner who stands like a brawler needs a story reason for that contradiction. A Nomad who crouches like a corporate executive may look polished, but the pose should explain whether they're negotiating, hiding, or preparing to flee.
Keep the face economical
Reduce the face to two values, a strong shadow shape and one rim highlight. Add one asymmetric feature that survives at small scale, such as a scar, missing eyebrow, synthetic cheekplate, or damaged lens. Symmetry makes AI outputs and hand-drawn designs feel interchangeable, while a controlled irregularity gives the reader an identification point.
Backstory hooks should produce visible decisions:
- The debt: The character's augmentation belongs to someone else, so a contract mark, payment seal, or concealed serial number affects their clothing and behavior.
- The lost contact: One interface remains active but unreliable, giving the character a reason to protect one side of the head or keep checking a dead channel.
- The dead employer: Corporate gear has been repurposed after a collapse, leaving branded materials, erased insignia, and equipment the character can't fully trust.
These hooks don't need exposition in the first panel. A viewer should feel that the design has a history before the character explains it.
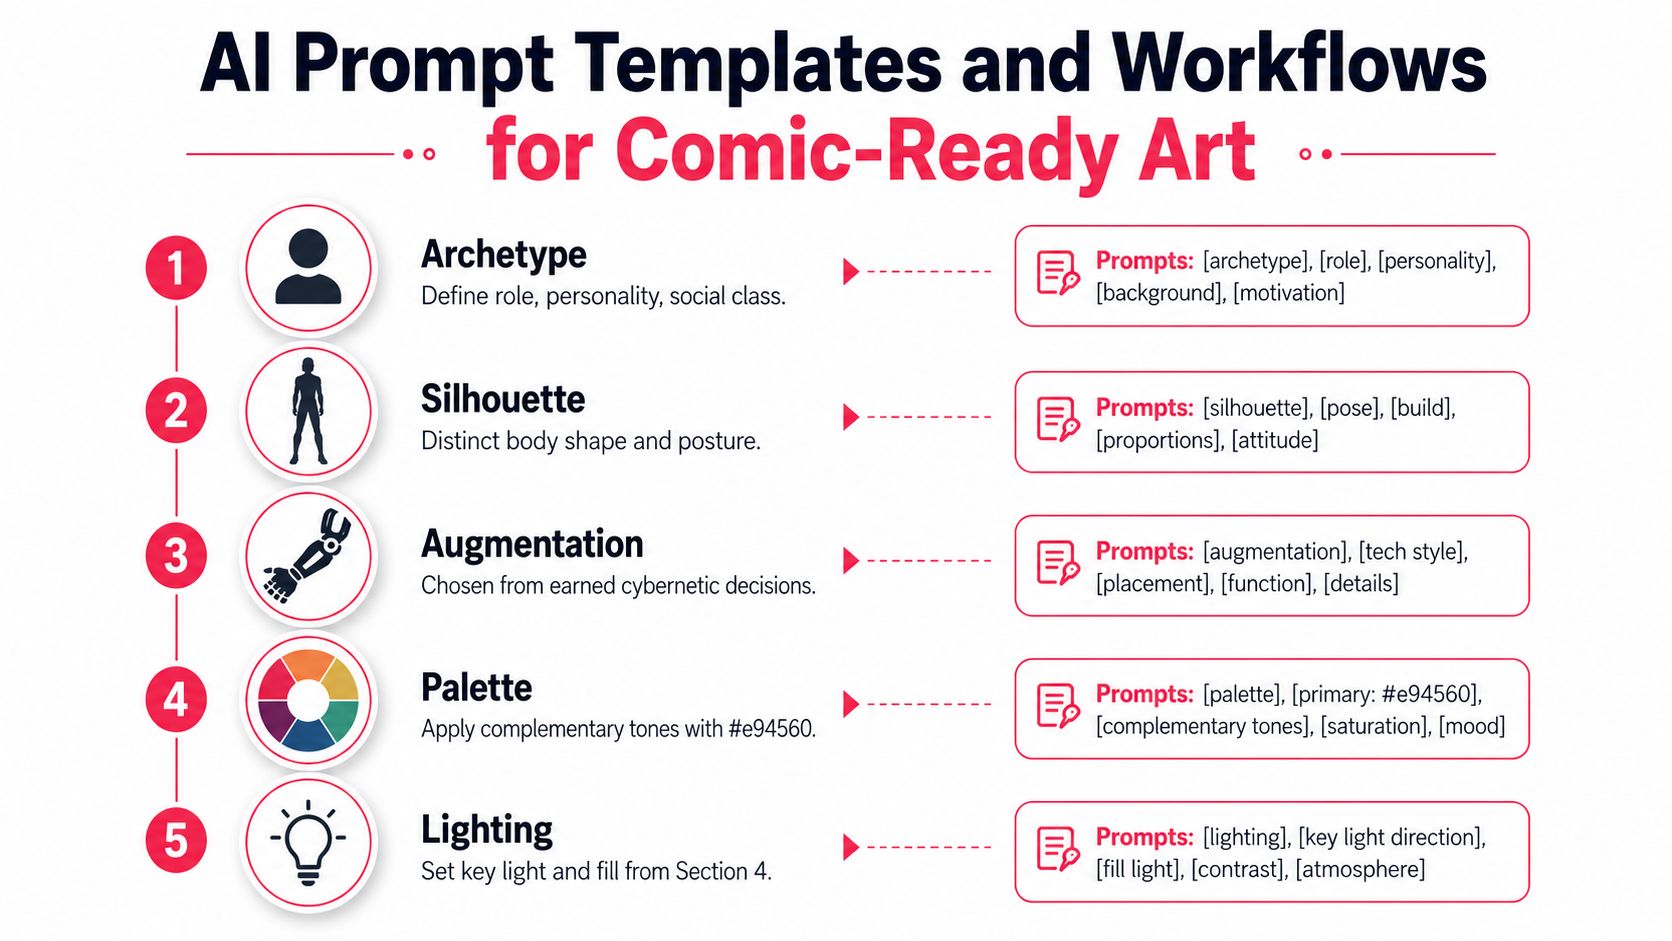
AI Prompt Templates and Workflows for Comic-Ready Art
AI tools produce stronger comic references when you treat the prompt as a design document, not a mood board. Lock the character's structural description first. Then vary the panel action, camera, expression, and environment without rewriting the identity every time.
A useful base prompt looks like this:
Core character prompt:
“Cyberpunk Netrunner-Fixer, inward-focused posture, narrow silhouette, hooded shell suit over a compact interface bodysuit, asymmetrical contract coat, shaved side of head with visible neural jacks, worn scanner gauntlet, concealed comms, repaired synthetic cheekplate, desaturated charcoal and gray base, restrained teal interface accents, one magenta focal light, tactile fabric, scratched metal, rain-wet urban atmosphere, readable comic silhouette, clear anatomy, consistent character design sheet.”
That block establishes archetype, silhouette, augmentation, palette, and lighting. Don't change those terms casually. Make a second block for the scene:
Panel variation:
“Three-quarter view, crouched on a maintenance pipe, one hand stabilizing the scanner gauntlet, chin tucked, watching a corporate patrol below, medium comic panel, strong foreground shadow, magenta sign as key light, teal reflected light on the coat edge.”
For another panel, preserve the core block and change only the action:
Action variation:
“Standing tall in a narrow service corridor, shoulders squared, contract coat open, scanner gauntlet raised, synthetic cheekplate catching a hard rim highlight, close camera, tense expression, speech bubble space above the head.”
Keep the identity stable
Use a character sheet or reference image whenever your tool supports reference anchoring. Record the wording that defines the face, hair or cranial hardware, coat shape, dominant colors, and augmentation seams. If the generator supports seed controls, keep the seed logic consistent during exploration, then change it deliberately when you need new compositions rather than changing it accidentally.
A practical checklist:
- Style tags: Keep the same comic rendering language across pages.
- Reference anchoring: Reuse the approved character sheet.
- Negative prompts: Exclude extra limbs, duplicate weapons, unreadable hands, random armor, melted seams, and excessive glow.
- Panel controls: Specify shot size, camera angle, pose, and eye direction.
- Continuity notes: Track which arm carries the gauntlet, where cables attach, and which side receives the key light.
Fix the failures instead of accepting them
Melted augmentation seams usually mean the prompt describes the implant but not its physical attachment. Add “visible surgical seam,” “flexible synthetic tissue,” or “mechanical joint transition,” then use the reference sheet again.
Collapsed costume detail often comes from asking for too many small accessories. Remove secondary props, strengthen the shell silhouette, and restore details only after the panel composition works.
Oversaturated neon means the palette has no hierarchy. Specify a desaturated base, one dominant key light, restrained reflected color, and a single focal accent. The workflow recommended in this AI story generator guide also supports the larger principle, define the story and character before asking a system to generate sequential scenes.
For a finished comic, keep the approved character block fixed and generate pages scene by scene. PersonalizedComics lets users describe or upload characters, choose a cyberpunk style, and generate illustrated pages with panels, speech bubbles, sound effects, and narration. It's useful when the design decisions are already settled and you want to move from a reference sheet into a personalized sequence without redrawing every panel from scratch.
PersonalizedComics turns photos and ideas into illustrated comic books, including a selectable cyberpunk style, while letting you describe original heroes, settings, plot, and dialogue. Start with your finalized silhouette and augmentation brief, then visit PersonalizedComics to turn that character into a coherent comic page or a complete personalized story.
Filed under Comic Craft