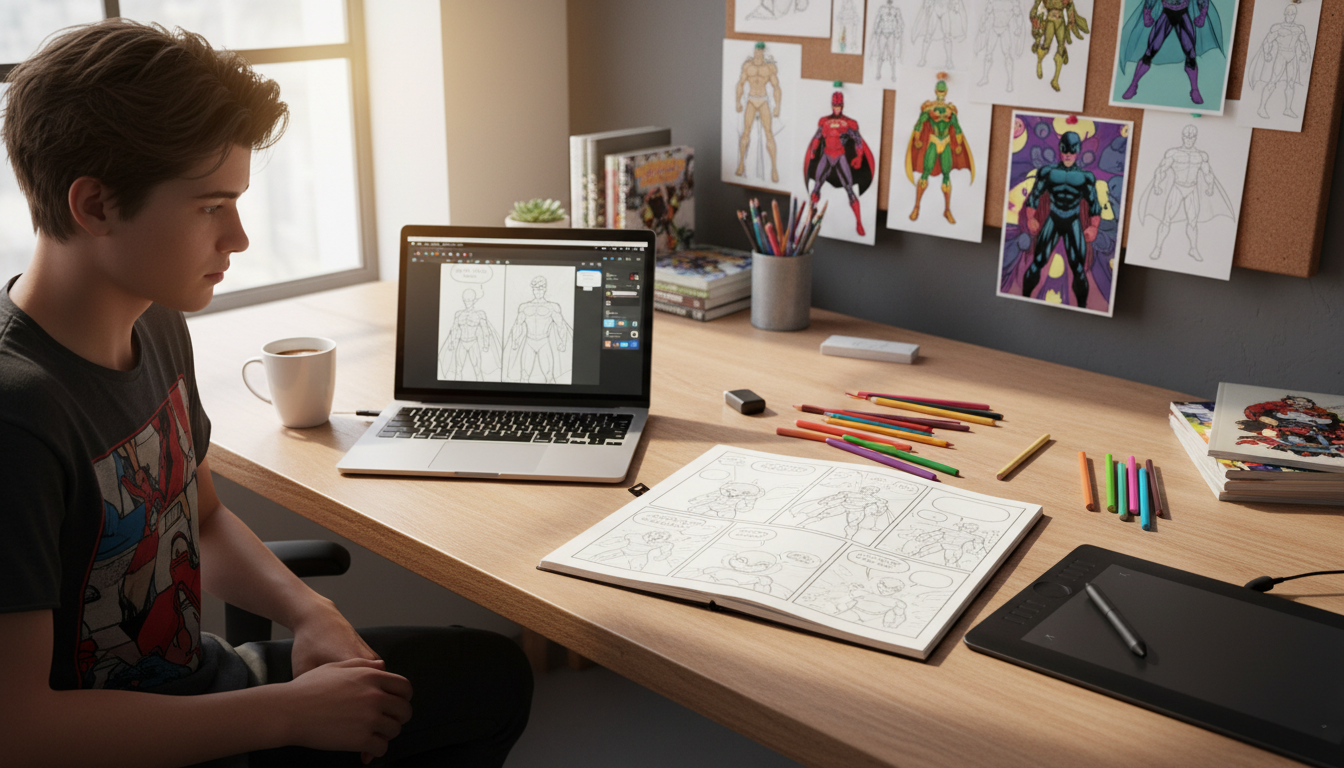
If you have ever wanted to create custom comic book free, the good news is that it is more possible now than at any point in the past. You no longer need a full art studio, expensive desktop software, or years of formal training to turn an idea into a comic. With the right process, a few free tools, and a realistic first project, beginners can go from blank page to finished comic faster than they expect.
This guide walks through the full beginner workflow: idea development, character creation, page planning, tool selection, design principles, exporting, and free publishing. Along the way, you will also learn how to avoid the mistakes that stop many first-time creators from finishing. If you eventually want a faster AI-assisted route, a custom comic book maker can simplify the process even further, but it still helps to understand the fundamentals first.
What It Means to Create a Custom Comic Book for Free
When people search for how to create a custom comic book for free, they are usually looking for one of three outcomes: a personal comic starring original characters, a giftable comic based on real people or memories, or a simple online comic they can share digitally. “Custom” means the story, characters, visuals, or message are tailored to your idea rather than pulled from a generic template.
Creating a comic for free usually involves combining no-cost tools for writing, drawing, layout, and export. That could mean drafting your script in Google Docs, sketching in Krita or MediBang, laying out pages in Canva or a presentation app, and sharing the final comic as images or a PDF. Free does not always mean feature-rich, but it absolutely can mean usable.
Custom comic vs. webcomic vs. printable comic
- Custom comic book: built around your concept, message, characters, event, or theme. This is ideal for gifts, school projects, brand storytelling, and personal creative projects.
- Webcomic: usually formatted for scrolling or digital viewing first. It may use vertical panels or simplified layouts for phones and tablets.
- Printable comic: designed with page dimensions, margins, bleed, and export quality in mind so it can be printed cleanly later.
Many beginners start with a digital comic and then later convert it into a printable version. That is a smart approach because it keeps the first version simple and lowers the risk of getting stuck on print production too early.
A finished short comic beats a half-finished epic every time. The best beginner strategy is to make something small, complete it, learn from it, and then scale up.
You do not need to be a professional illustrator to make your own comic book free online. You need a clear idea, a manageable scope, and tools that fit your skill level.
This process is especially useful for students, hobbyists, teachers, marketers, and creators testing their first visual story. It is also great for anyone exploring personalized storytelling. For example, if your project is romantic or memory-based, you may enjoy seeing how custom storytelling works in a custom comic book love story format.
Start With a Story, Characters, and Comic Structure
The biggest misconception beginners have is that drawing comes first. In reality, strong comics are built on structure. Before you think about effects, line work, or cover art, define what happens, who it happens to, and how many pages it should take.
Choose a story that can actually be finished
Your first free comic should be short. Aim for 4 to 8 pages or even a one-page comic if this is your first attempt. Focus on a story with a beginning, a problem, and a satisfying resolution. A simple premise works well:
- A hero must recover a lost item before sunset.
- Two friends misunderstand each other and reconnect.
- A character discovers a hidden power and uses it in one key moment.
- A funny slice-of-life event escalates into comic chaos.
Complex worldbuilding can come later. At this stage, clarity is more important than scale.
Build memorable characters fast
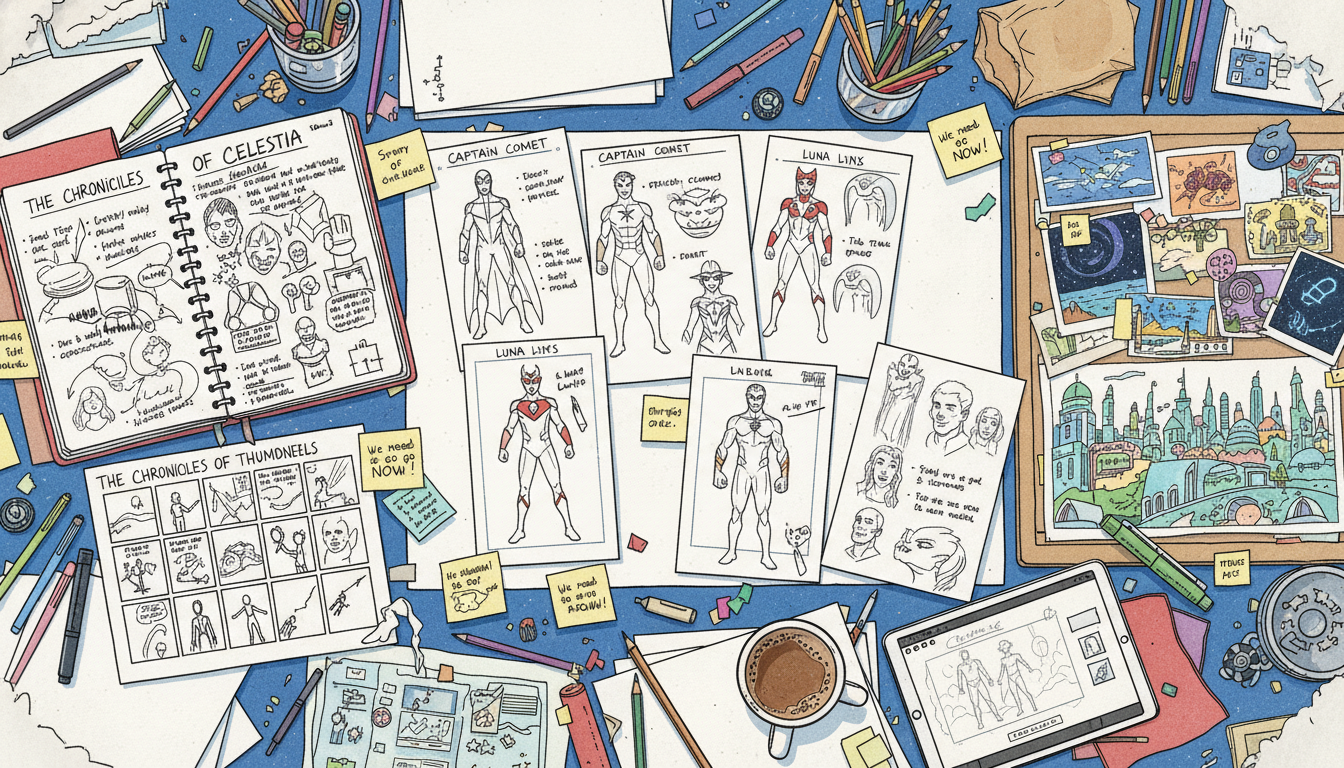
Great comic characters are recognizable in silhouette, voice, and behavior. You do not need a 20-page character bible. Start with a lightweight character sheet for each main figure:
- Name and role in the story
- One visual trait people notice first
- One emotional strength
- One flaw or fear
- One phrase or dialogue style they tend to use
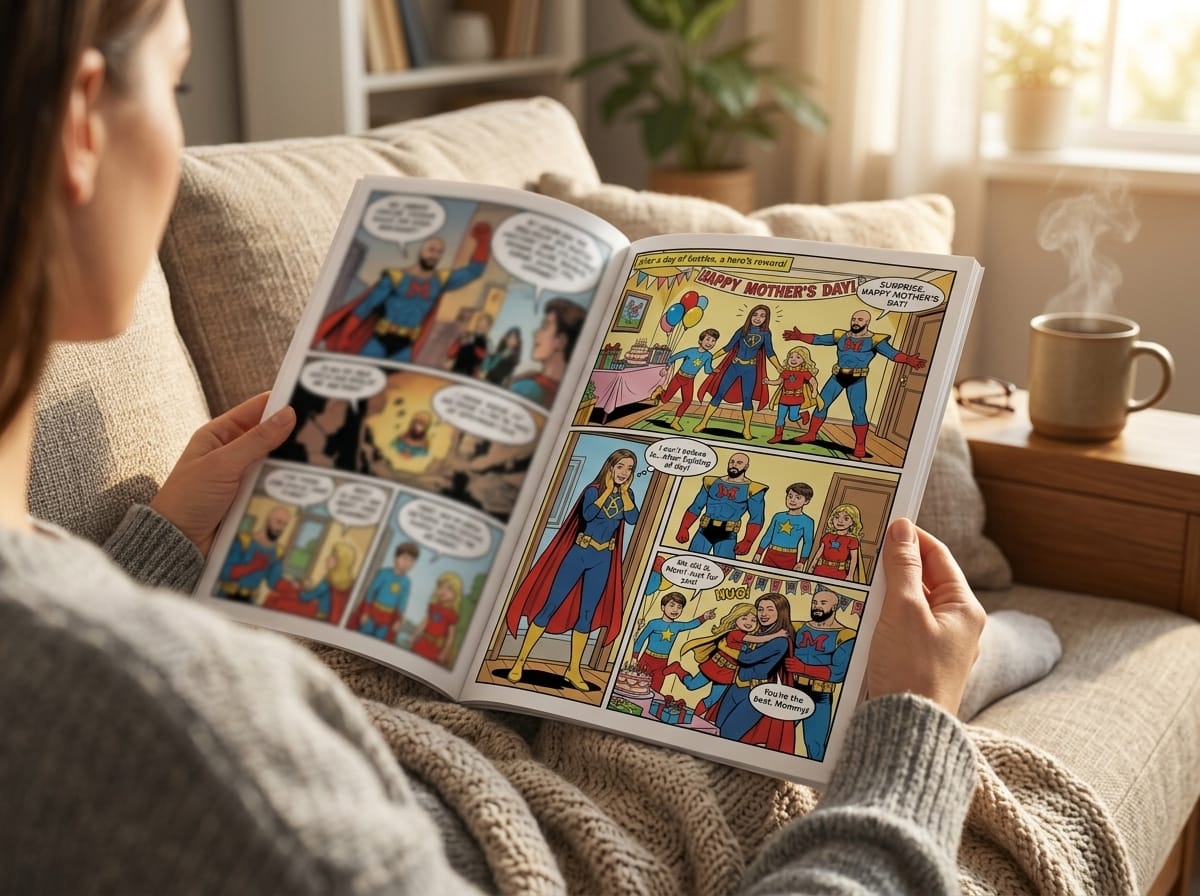
This keeps your cast distinct and makes speech bubbles easier to write. If your comic is based on real people, reference photos can help maintain consistency. That is one reason AI-assisted platforms have become popular: they can transform uploaded photos into comic-style characters. PersonalizedComics.com, for example, lets users upload a photo, choose from 8 art styles, and generate a complete comic with panels, dialogue, and effects in minutes.
Plan page count and panel flow
Once your story is defined, break it into pages. Each page should have a job: introduce a scene, reveal a twist, build tension, deliver a joke, or land an emotional beat. Then break each page into panels. A common beginner structure is 3 to 6 panels per page.
Ask yourself:
- What does the reader learn on this page?
- Which panel has the most important visual moment?
- Does the eye move naturally from panel to panel?
- Is there enough space for text without covering essential art?
If this planning step feels difficult, read through a practical walkthrough like How to Make a Custom Comic Book with PersonalizedComics. Even if you use different tools, the page-thinking process applies everywhere.
Best Free Tools to Make Your Own Comic Book
There is no single “best” tool for every creator. The right setup depends on whether you prefer writing first, sketching by hand, designing in-browser, or using AI support. The goal is not to collect lots of apps. The goal is to choose a tool chain that removes friction.
| Task | Free Tool Options | Best For |
|---|---|---|
| Script writing | Google Docs, Notion, LibreOffice Writer | Drafting scenes, dialogue, revisions |
| Drawing and coloring | Krita, MediBang Paint, ibisPaint | Digital art, inking, coloring |
| Page layout | Canva free plan, Google Slides, PowerPoint Online | Panel arrangement, speech bubble placement |
| Lettering and fonts | Google Fonts, Blambot free fonts with license checks | Readable comic text and titles |
| Cover design | Canva, Photopea, GIMP | Thumbnails, title treatment, promotional images |
Browser-based vs. downloadable tools
Browser-based tools are easier for beginners because they work on most devices and require less setup. They are ideal for simple page construction, especially if your art is already finished. Downloadable tools usually offer better brush control, layer management, and export options, which helps if you are drawing from scratch.
What to look for in a free comic creation tool
- Ease of use: Can you learn the basics in under an hour?
- Export quality: Can you save as PNG, JPG, or PDF without ugly compression?
- Layer support: Useful for separating art, text, effects, and backgrounds.
- Comic-specific templates: Helpful for panel grids and page dimensions.
- Device compatibility: Important if you switch between desktop and tablet.
If your main goal is speed and personalization rather than manual drawing, an AI-powered workflow can be a better fit. PersonalizedComics.com offers free sign-up with a free three-page preview comic, which is enough to test your first mini comic at no cost. Credits never expire, and paid digital plans scale from Starter to Studio if you decide to make a larger project later.
Design Your Comic Pages Like a Pro
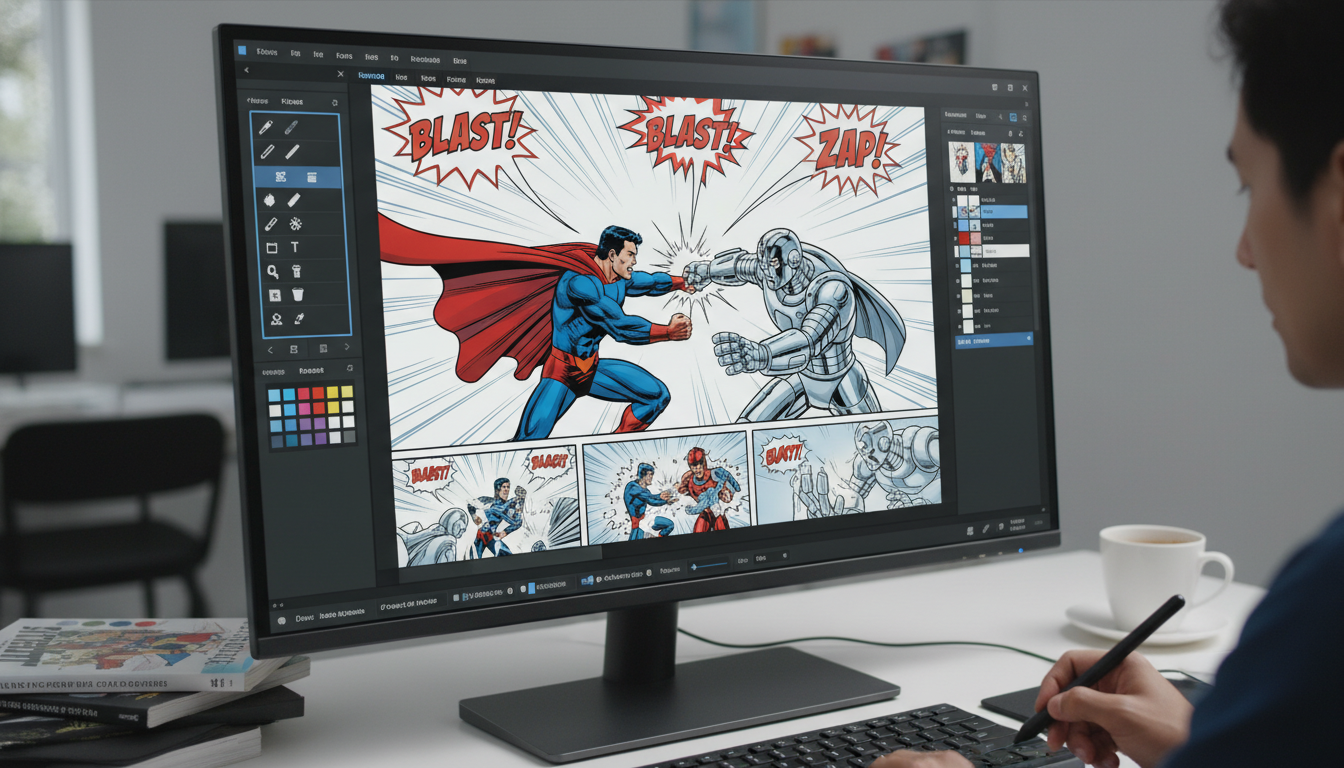
Good comic design is really about readability. Readers should know where to look, what to read first, and what emotional beat matters most. Professional-looking pages do not require flashy art. They require intentional layout.
Use consistent panel logic
Beginners often make every panel a different size without a story reason. Variety is useful, but consistency creates rhythm. Start with a basic grid and only break it when you want to emphasize something important, such as a reveal, impact shot, or emotional pause.
- Use wider panels for establishing scenes.
- Use close-up panels for emotion and reaction.
- Use larger splash-like panels sparingly to create emphasis.
- Leave enough gutter space so panels do not visually blend together.
Keep speech bubbles readable
Lettering can make or break a comic. The font should be easy to read, the bubble should not crowd the art, and the tail should clearly point to the speaker. Keep text concise. If one bubble feels like a paragraph, split it. Comics reward economy.
If readers have to work hard to understand your panel order or dialogue, they will stop noticing the story. Clear design is invisible design.
Balance text and visuals
A common beginner mistake is over-explaining the art with too much narration. Let the images carry part of the storytelling. If the character is visibly scared, you may not need a caption saying they are scared. Use dialogue, captions, and sound effects only where they add something new.
Use a limited style guide
Consistency matters more than complexity. Create a mini style guide before finalizing pages:
- Choose 3 to 5 main colors for recurring use.
- Define each character’s hair, outfit, and key accessories.
- Use one or two fonts throughout the comic.
- Set a standard panel border style and speech bubble look.
Readers forgive simple art much faster than they forgive confusing storytelling. Prioritize flow, clarity, and consistency over visual complexity.
If you are building a comic intended as a present, think beyond page design and consider the final emotional context too. A personalized story can become a memorable custom comic book gift when the pacing, visuals, and message all support the occasion.
How to Export, Share, and Publish Your Comic for Free
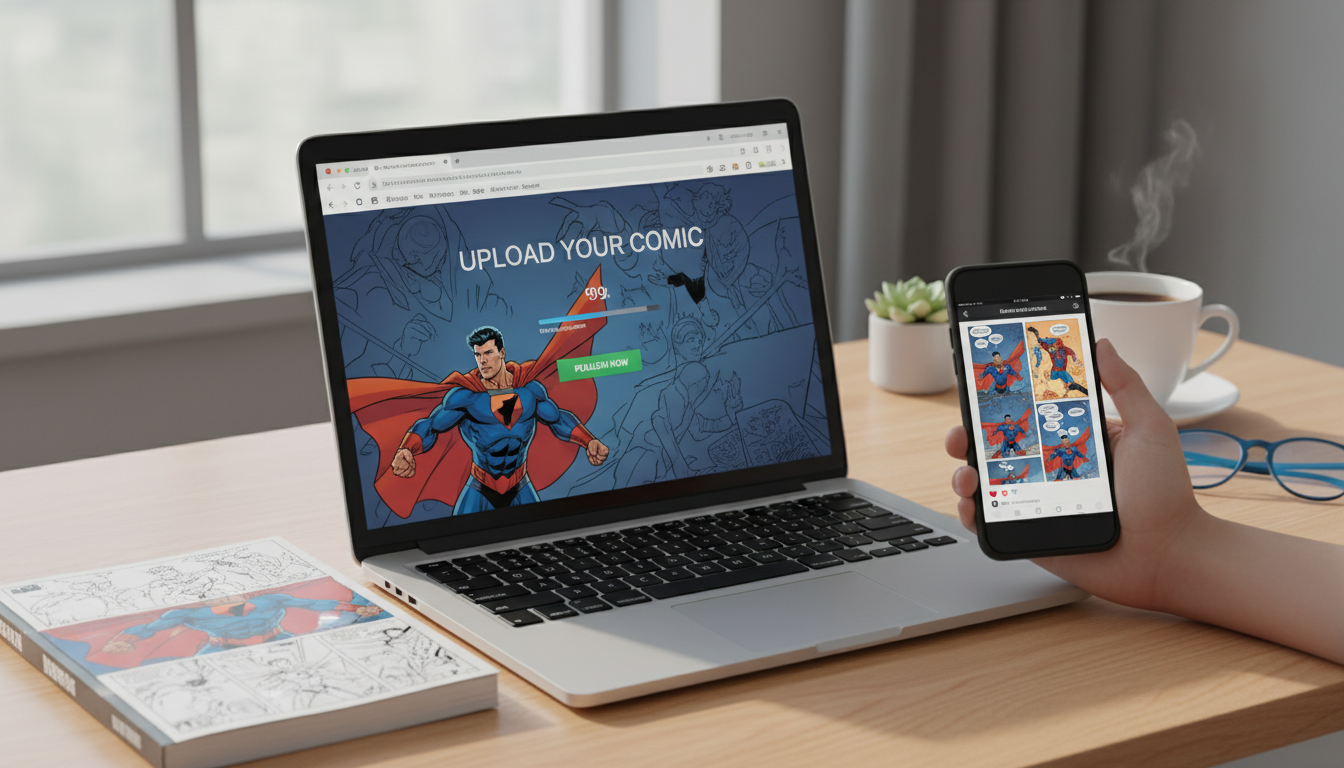
Once your comic pages are complete, your next decision is format. The right export depends on where the comic will live. A comic meant for Instagram or a web portfolio needs different dimensions than one intended for print or PDF download.
Best export formats for beginners
- PNG: best for crisp images, page-by-page uploads, and preserving line quality.
- JPG: smaller file size, useful for fast sharing, but may reduce image quality.
- PDF: ideal for sending a complete comic in one file or preparing for print later.
Always export and zoom in before publishing. Check speech bubbles, line edges, color banding, and text sharpness. One blurry export can make an otherwise strong comic look unfinished.
Where to publish for free
You can share a comic in several no-cost ways:
- Your own blog or portfolio site
- Social media carousels and short-form content platforms
- Online comic communities and creator forums
- Free PDF hosting or cloud share links
- Email newsletters for friends, fans, or clients
If your comic gains traction, publishing digitally can become the first step toward a print edition. Many creators start free, build an audience, revise based on feedback, and only then invest in physical copies. If that is your path, this guide on printing a custom comic book is the logical next read.
Gather feedback and improve
Do not treat your first published version as final forever. Ask early readers:
- Was the story easy to follow?
- Did any page feel cluttered or confusing?
- Which character stood out most?
- Where did they want more detail or emotion?
Revision is a major part of comic creation. Even small tweaks to panel order, font size, or dialogue can dramatically improve reader experience.
If you want a quick route from digital idea to physical object, PersonalizedComics.com also offers printed comics starting at $19.99, with full color, standard comic size, saddle stitch binding, and free shipping.
Common Mistakes to Avoid When Creating a Free Custom Comic Book
1. Starting too big
The fastest way to burn out is to announce a 120-page saga before finishing a four-page story. Small projects teach pacing, workflow, and consistency. Large projects amplify every weakness.
2. Ignoring readability
Tiny text, crowded speech bubbles, weak contrast, and chaotic panel flow make comics difficult to enjoy. Always test your pages on both desktop and mobile if you plan to publish online.
3. Changing character design every page
This usually happens when creators improvise instead of using references. Keep a visual sheet nearby showing each character’s face shape, hairstyle, outfit details, and key colors. Consistency creates credibility.
4. Overwriting dialogue
Realistic speech is not always good comic dialogue. Comics need compressed, intentional language. Every line should reveal character, move the scene, or deliver impact.
5. Exporting low-quality files
Even a strong comic can feel amateur if the final files are blurry or mismatched. Save organized master files, export at a high enough resolution, and review every page before publishing.
Finish first, refine second. A completed simple comic teaches more than a perfect opening chapter that never becomes a full story.
Conclusion: Start Simple and Build Momentum
If your goal is to create custom comic book free, the path is straightforward: start with a short story, define your characters, outline the page flow, choose tools that match your skill level, and focus on clarity over complexity. Free comic creation is not about cutting corners. It is about using accessible tools wisely so you can finish, learn, and improve.
For some creators, that means manually writing, drawing, and laying out every page. For others, it means using AI tools to turn photos and prompts into polished comics faster. Either way, the core principles stay the same: a clear idea, readable design, and a complete story readers can enjoy.
If you want to experiment without spending money upfront, PersonalizedComics.com is a practical option to test. Free sign-up includes a three-page preview comic, and the platform can turn your photos and story ideas into a full illustrated comic in styles ranging from manga and noir to watercolor, cyberpunk, retro pop, and fantasy epic.
Next step: pick a small concept today and create page one. Once you see your idea in comic form, momentum gets much easier. And if you want a more guided path, explore a full custom comic book maker guide or a step-by-step tutorial on making your own custom comic book.
Start Creating Your Free Custom Comic Book Today
Use these steps to plan your story, choose free tools, and publish your comic without spending money.
- Choose a short, finishable idea.
- Create simple character references and a page outline.
- Use free writing, drawing, and layout tools that fit your workflow.
- Export clean files and publish digitally first.
- Improve with feedback, then consider printing or expanding the series.
Whether you make everything by hand or use AI to speed up the process, the best time to begin is now.
Filed under Making Your Comic