How to turn photo into anime character in 2026
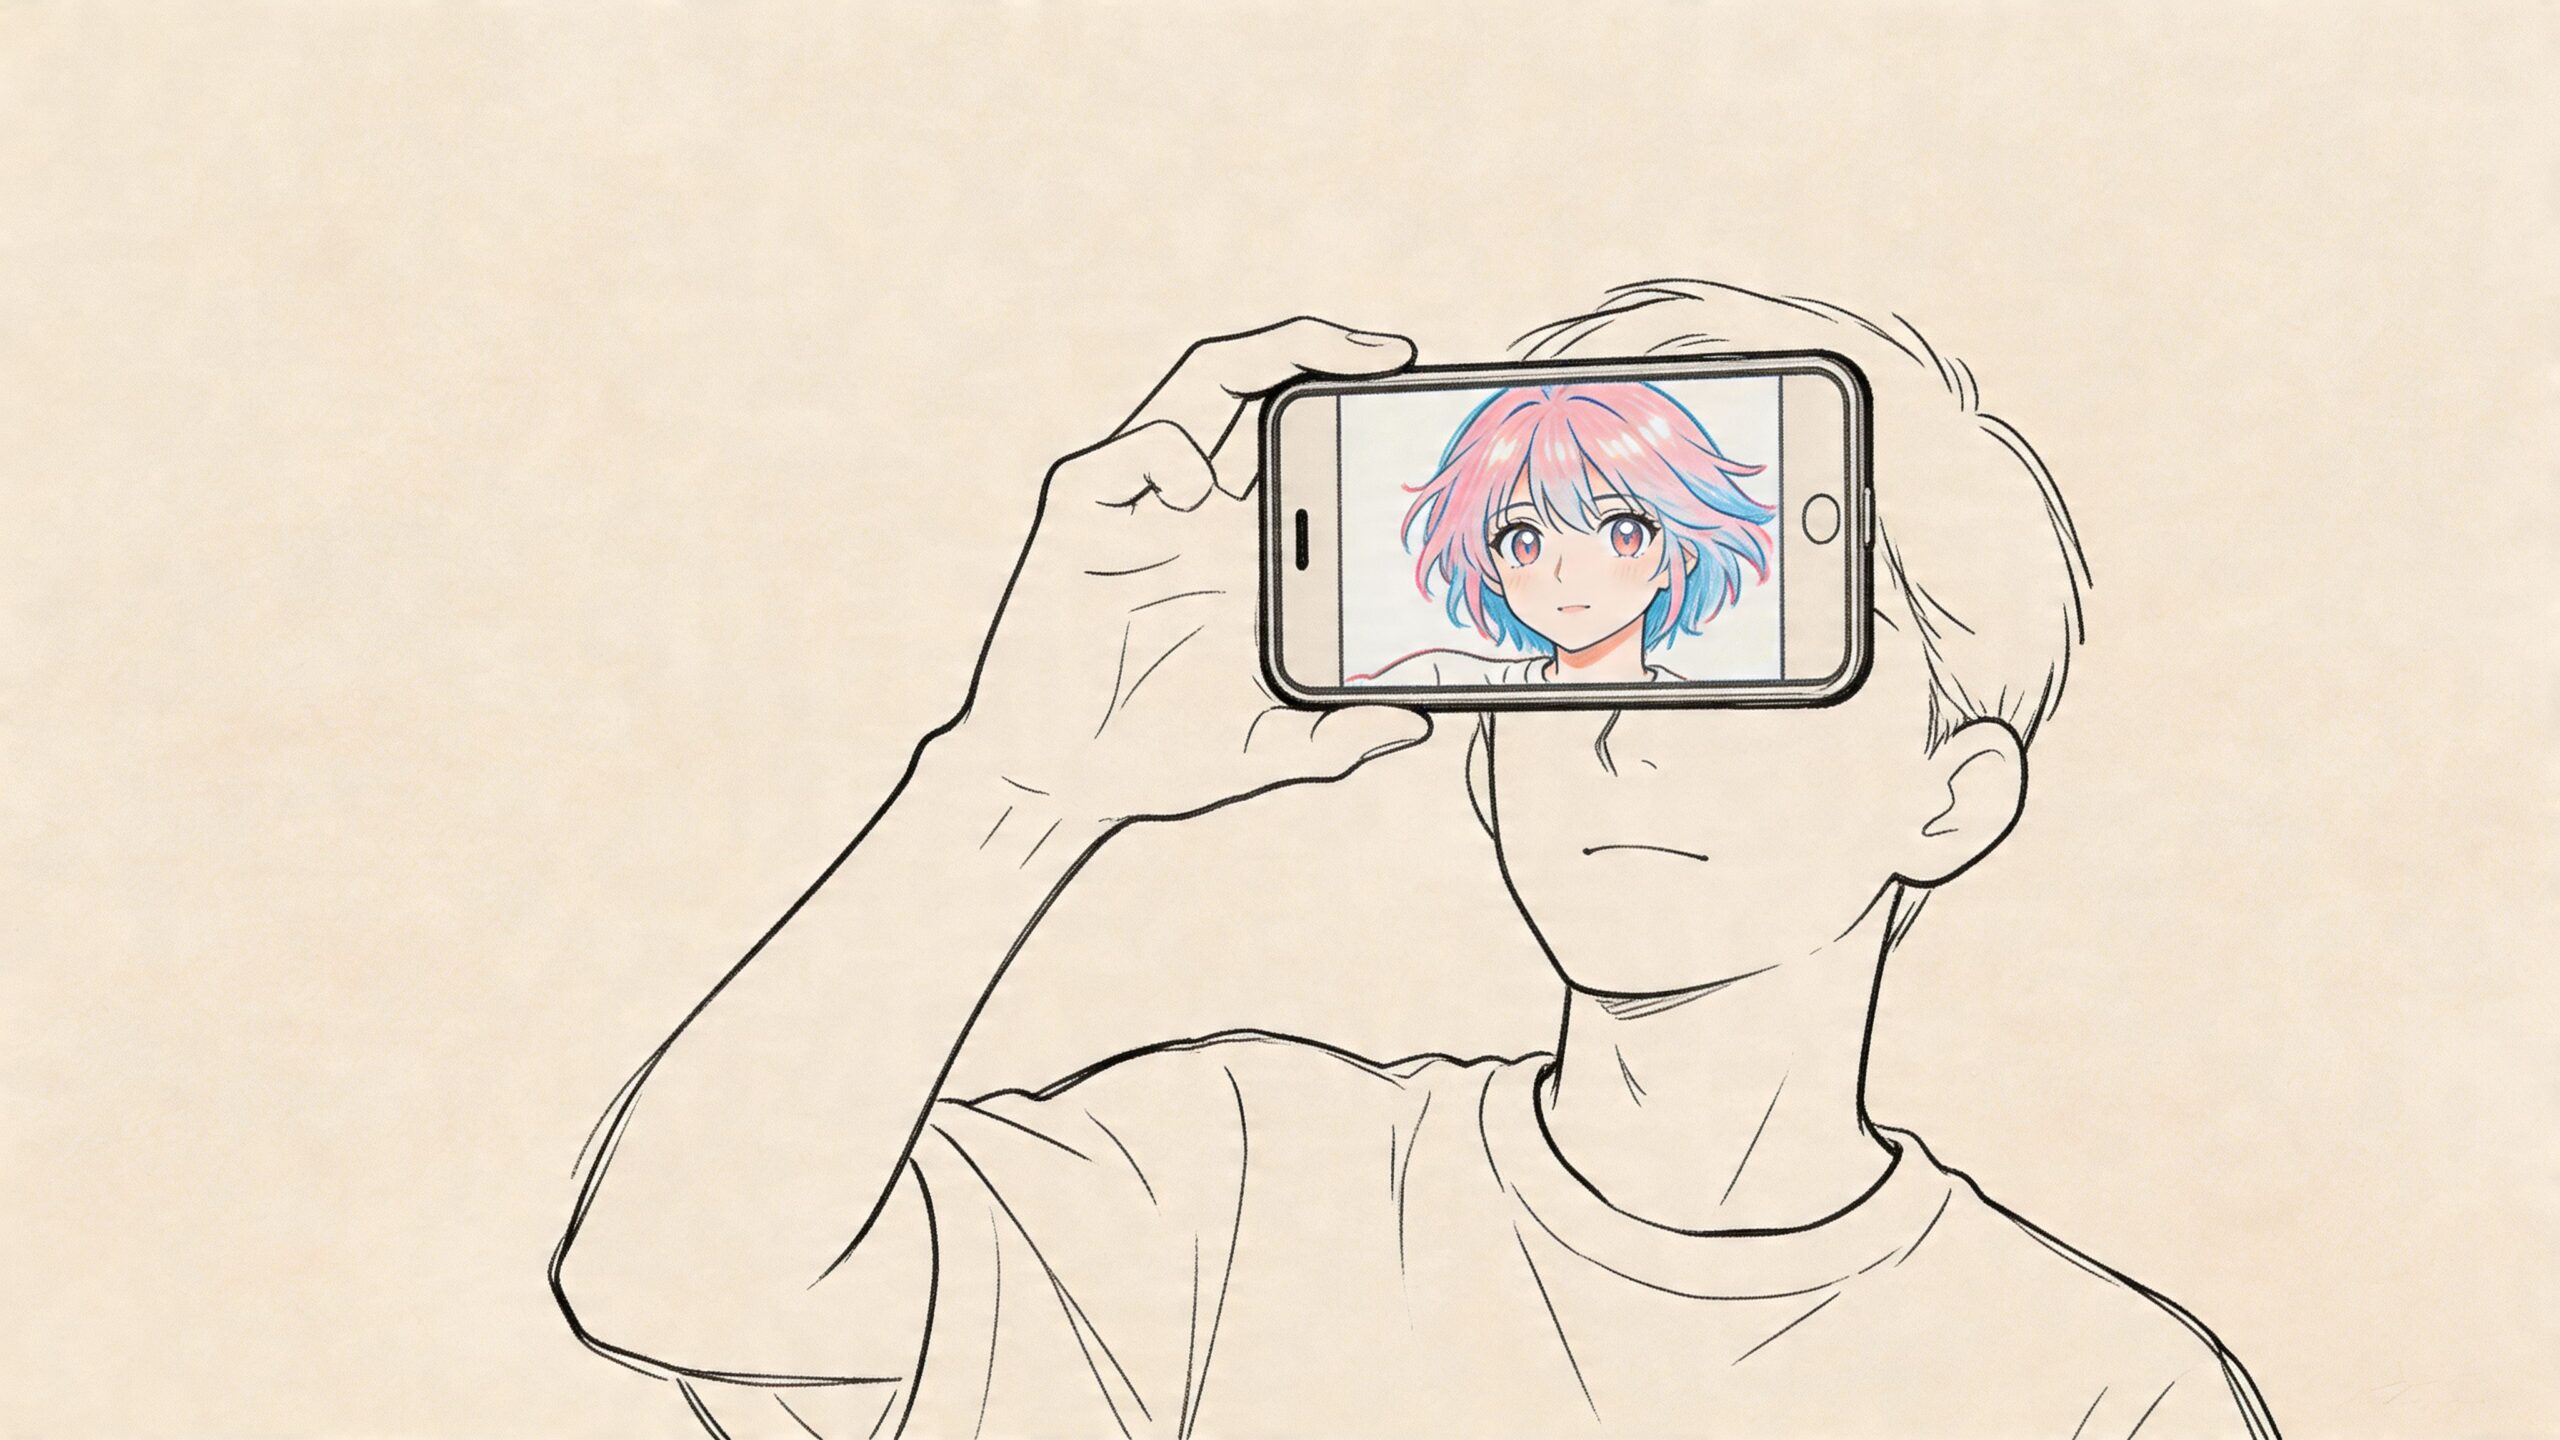
You’ve probably done the same thing a lot of anime fans do. You upload a selfie into a trendy filter, wait a few seconds, and hope the result looks like a character version of you instead of a glossy stranger with oversized eyes.
Sometimes it works. Often it doesn’t. The face is close, but the hair changes too much. The expression gets warped. The image looks good as a profile picture, then falls apart the moment you try to reuse that character in a second scene.
That’s the core challenge when you want to turn photo into anime character. A pretty single image is easy to chase. A recognizable character you can use across scenes, emotions, and comic panels takes more care. The difference comes down to source photo quality, style choice, how you prompt, and whether you’re building an avatar or a story asset.
From Selfie to Stylized Hero Your Anime Transformation Starts Here
A lot of people come to anime conversion with one specific mental image. They want to see themselves as a shonen lead, a romance protagonist, a quiet slice-of-life character, or the villain with perfect hair and dramatic lighting. That instinct makes sense. Anime has always been about identity made visible. Hair, silhouette, expression, color palette. Everything telegraphs who a character is.
That fantasy became practical fast. A major turning point came with Selfie2Anime, which launched in 2020 and used a StyleGAN model trained on over 40,000 anime faces. It drew over 400,000 users in its first week, according to the Selfie2Anime project site. That early wave mattered because it showed people didn’t want only polished fan art from professional illustrators. They wanted instant access. Upload a photo, get an anime version of yourself, share it.
What changed after that
Browser-based tools removed most of the friction. You no longer had to learn drawing software, trace over a portrait, or hire an artist just to test an idea. Fotor, Canva-style creative apps, and a growing set of AI art tools made anime conversion feel casual enough to try on a lunch break.
But casual access created a new expectation. People didn’t just want novelty. They wanted images that still felt like them.
The best anime conversion doesn’t copy a photo literally. It keeps the features people recognize first, then simplifies everything else.
That’s where the craft comes in. A good result preserves your face shape, your eye spacing, your hair silhouette, and the overall emotional feel of the original image. A bad result keeps the outfit and loses the person.
Why this matters for more than avatars
The jump from “anime selfie” to “anime character” changes the whole workflow. Once you stop thinking about a one-off portrait and start thinking about a reusable character, different questions show up:
- Can this character hold up in multiple scenes
- Will the face still look right from panel to panel
- Can I change the outfit, pose, or setting without losing identity
- Does the style fit the story I want to tell
Those questions matter if you’re making a birthday comic, a relationship story, a stream overlay persona, or a keepsake based on family photos. The tools are fun on the surface. The true payoff comes when the result becomes part of something bigger than one image.
Preparing Your Photo for the AI Artist
The source image does more work than is often realized. If the photo is weak, the AI has to guess. When it guesses, it tends to invent features, flatten expression, or overcorrect with generic anime traits.
On clear, frontal photos, AI models detect landmarks like the eyes, nose, and mouth with over 95% accuracy, according to this photo-to-anime conversion guide. The same guide notes that low-light or partially occluded photos can fail 40-60% of the time, which is exactly why hoodies, sunglasses, hands on the face, and dramatic shadows cause so many broken outputs.
Start with a photo the model can read
If you want a reliable anime character, choose a portrait with the fewest ambiguities possible.
- Use a clear frontal angle. Straight-on photos give the model cleaner landmark detection and better facial balance.
- Keep lighting soft and even. Window light works well. Harsh overhead light creates shadows that can get translated into odd cheek contours or eye shapes.
- Show the full face. Hair over one eye can look stylish in the final art, but it often confuses the conversion stage if it’s already obscuring landmarks in the source image.
- Upload a high-quality image. Compression artifacts and blur often get reinterpreted as skin texture, line noise, or muddy shading.
- Choose a simple background when possible. Busy backgrounds compete for attention and can influence the style in ways you didn’t ask for.
Expression matters more than most people expect
A huge smile feels like the obvious choice because it looks friendly in a photo. In anime conversion, that can backfire. Teeth, stretched lips, and cheek creases are harder to stylize cleanly than a neutral or lightly expressive face.
The most dependable source photos usually have a relaxed mouth, open eyes, and a direct gaze. That gives the model space to stylize without exaggerating every facial cue.
Practical rule: If your goal is a repeatable character, pick the least complicated good photo, not the most dramatic one.
A quick pre-upload checklist
Before you hit generate, check these five things:
| Check | What to look for | Why it matters |
|---|---|---|
| Face visibility | Both eyes, nose, and mouth are readable | The model needs landmarks to preserve identity |
| Lighting | No deep shadows or blown highlights | Better facial interpretation |
| Angle | Mostly frontal | Side angles are harder to keep consistent |
| Image quality | Sharp and not heavily filtered | Prevents muddy or distorted outputs |
| Accessories | Minimal obstruction | Glasses glare, hats, and hands can confuse the model |
Photos that usually disappoint
Some images look cool to humans and perform badly in AI conversion:
- Concert photos with colored lighting
- Car selfies with strong shadow bands
- Group shots where the face is too small
- Wide-angle selfies that distort facial proportions
- Candid laughing shots with motion blur
If that’s all you have, crop tightly and try anyway. But when results look off, the issue often starts with the image, not the tool.
One useful habit
Save a small folder of two or three candidate portraits of the same person before testing any platform. Use one neutral headshot, one slightly expressive portrait, and one with a different hairstyle or outfit. That gives you a baseline for what the tool preserves well and what it tends to break. It’s one of the fastest ways to separate a weak converter from a good one.
Choosing Your Path Single Image vs Storytelling
The first real decision isn’t which filter to click. It’s what you’re trying to make.
Some tools are built for speed. They produce a striking anime portrait in one pass and that’s enough. Others are useful only if you want the character to keep existing after the first image. Those are very different goals, and they reward different workflows.
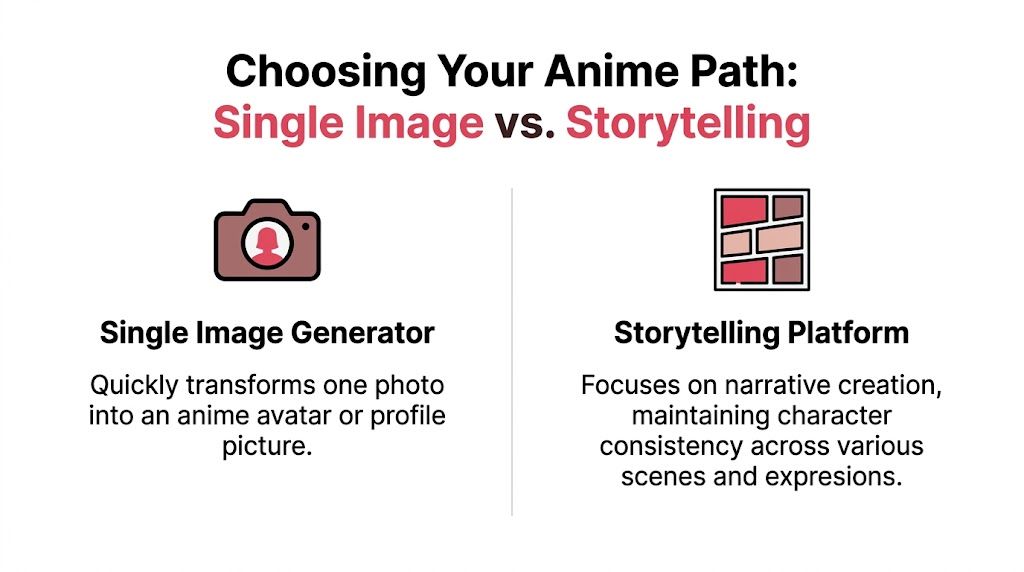
A big market gap still sits between those two paths. As Aragon’s anime filter page notes, current converters have largely solved the basic “how do I make my photo anime?” problem, but they haven’t really solved how to use that character in a multi-panel story with dialogue and plot. That gap matters if your end goal isn’t just a profile pic.
When a single-image generator is enough
If you want a Discord avatar, a TikTok profile image, or a one-off post, fast generators are fine. In that mode, the priorities are simple:
- speed
- easy style presets
- decent resemblance
- minimal editing
You upload, try a few looks, download the one that feels closest, and move on. Tools in this category are usually strongest when expectations stay narrow. One frame. One expression. One crop.
That’s not a criticism. Sometimes that’s exactly the right tool for the job.
When you need a storytelling workflow
Storytelling changes the standard. The character has to survive multiple generations without drifting into a different person. The hair shape needs to remain recognizable. The face can’t change every time the pose changes. Clothing details need to stay coherent enough that readers understand it’s the same person moving through a sequence.
That’s where many quick converters break down. They’re optimized for novelty, not continuity.
A strong story character is less about one perfect image and more about repeatable identity.
The practical difference
Here’s the side-by-side view that matters most.
| Feature | Single-Image Generators | Narrative Platforms (e.g., PersonalizedComics) |
|---|---|---|
| Main purpose | Create one anime portrait quickly | Build a reusable character for multi-scene storytelling |
| Best use case | Avatars, profile pictures, social posts | Comics, gifts, story sequences, prototypes |
| Consistency across scenes | Often weak | Designed to matter |
| Dialogue and plot support | Typically absent | Central to the workflow |
| Iteration style | Filter hopping | Character refinement plus scene development |
| Final output mindset | Finished image | Ongoing narrative asset |
A simple way to choose
Pick the single-image path if your main question is, “Can I get a cool anime version of this photo today?”
Pick the storytelling path if your main question is, “Can I use this character again tomorrow in a new scene, with a new emotion, and still have it feel like the same person?”
That distinction sounds small, but it changes everything from your photo choice to your prompt style.
Trade-offs people notice late
Single-image tools often produce stronger first impressions. They can be dramatic, glossy, and instantly shareable. But they also tend to be fragile. Change the scene and the face shifts. Change the pose and the hairstyle mutates. Add a second character and the style balance may wobble.
Narrative workflows can feel slower at first because you’re making decisions with continuity in mind. But they usually pay off if you care about comic pages, keepsakes, or any project where the character has to persist.
The right answer depends on whether you’re chasing a moment or building a world.
A Practical Workflow for Creating Your Anime Character
Most failed conversions happen because people generate too early. They upload the first selfie they find, pick a flashy style, and hope the model does all the hard work. A better workflow treats the AI like a fast collaborator, not a mind reader.

Pick the story tone before the art style
Style selection goes wrong when people choose based only on what looks impressive in the preview gallery. Start with tone instead.
A bright romantic story usually wants softer lines and friendlier color choices. An action story can handle sharper contrast and stronger facial definition. A noir mystery may benefit from reduced palette complexity and moodier shadow treatment. Even if the tool doesn’t expose advanced style controls, your prompts and selection choices should match the role the character will play.
If you’re building a comic-ready version of a real person, it helps to look at examples of turning photos into comic book art so you can decide whether you want manga energy, graphic-novel texture, or something more cinematic.
Upload the cleanest portrait first
Don’t begin with your “fun” image. Begin with your most stable image.
That should usually be a straightforward portrait with clear facial definition. Once you get a base character that feels right, then you can experiment with more stylized inputs or scene-specific poses. Starting with the clean base gives you a visual anchor for every later variation.
Add only the details the photo can’t carry
Prompting works best when it fills gaps instead of fighting the source image. If the photo already shows curly dark hair, don’t rewrite it as long silver twin tails unless you intentionally want a redesign. If your face shape is the key identity marker, preserve that and let the style do the beautification.
Useful prompt additions often include:
- outfit details
- mood descriptors
- color accents
- genre framing
- accessories that support the role
For example, “anime character portrait, confident expression, red scarf, school uniform, clean line art” is usually more stable than a giant prompt packed with conflicting aesthetics.
Keep one or two identity anchors constant across every generation. Hair silhouette and eye shape are usually the best choices.
Don’t over-smile in the source image
This is one of the easiest fixes with the biggest payoff. In user-facing apps, expression fidelity fails in 28% of smiling photos because anime mouths get exaggerated. The same benchmark notes that starting with a neutral expression and then adding emotion through prompts improves results by 40%, according to this workflow breakdown on YouTube.
That lines up with hands-on testing. Neutral faces give the model cleaner geometry. You can always prompt “gentle smile,” “determined look,” or “surprised expression” later. It’s much harder to rescue a distorted grin after the fact.
Use a three-pass iteration method
A simple structure helps a lot.
Pass one, identity check
Ignore background and special effects. Ask one question only. Does this still look like the person?Pass two, style fit
Once identity feels right, test the visual language. Are the eyes too large for the tone? Is the shading too glossy? Does it feel more game-art than anime?Pass three, story readiness
Try a second expression or scene. If the character drifts immediately, the base design isn’t locked in enough.
What to keep consistent
When building a reusable character, preserve a short list of features every time:
| Feature type | Why it matters in repeat scenes |
|---|---|
| Hair shape | Most recognizable silhouette cue |
| Eye spacing and shape | Keeps the face from becoming generic |
| Face outline | Prevents identity drift |
| Signature clothing detail | Helps readers track the same character |
| Color accent | Gives continuity across panels |
Common mistakes that waste time
A few patterns show up over and over:
- Changing too many variables at once. If you switch style, prompt, pose, and expression in one jump, you won’t know what caused the improvement or the failure.
- Using highly filtered source photos. Beauty filters often erase the exact facial structure the anime model needs.
- Choosing the most dramatic output first. The strongest-looking render isn’t always the most reusable one.
- Ignoring silhouette. Tiny facial details matter less than a stable overall read.
My favorite practical test
Generate one close-up portrait, one half-body image, and one scene-based shot of the same character. Put them side by side. If a friend can tell immediately they’re all the same person without squinting, you’re close. If the character looks like cousins from the same anime, keep refining before you build the story around them.
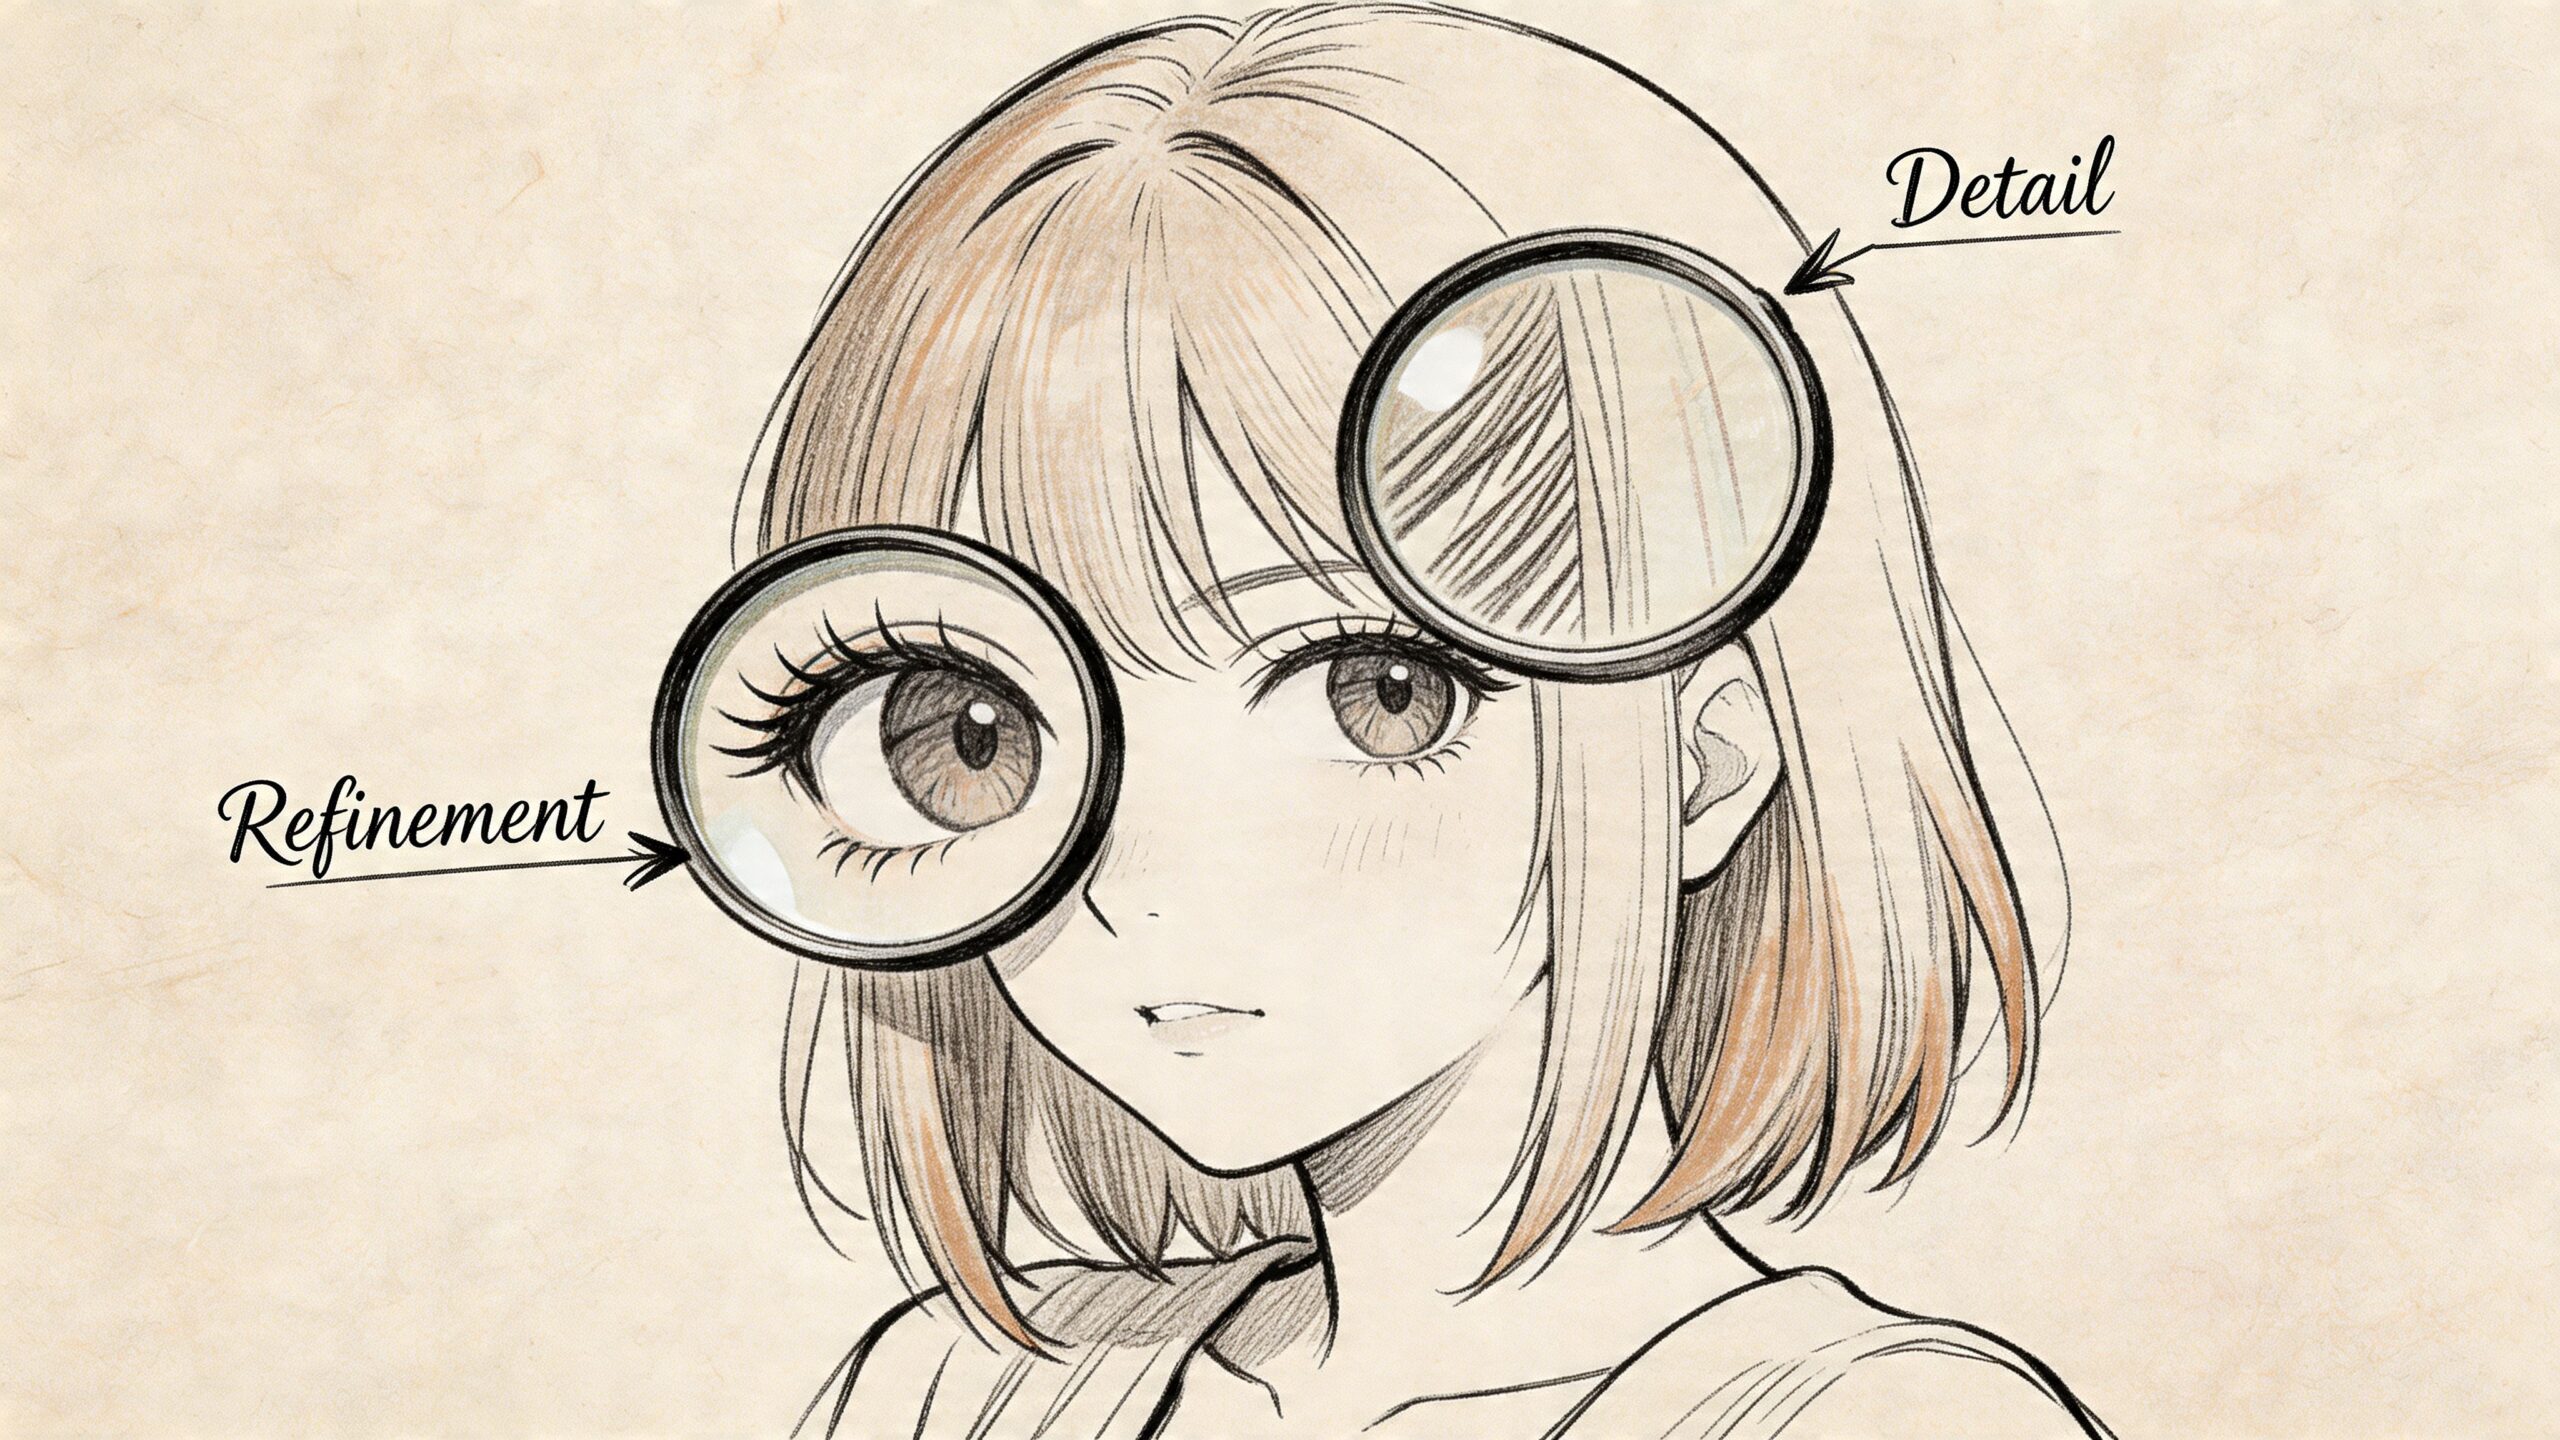
Pro Tips for Picture-Perfect Anime Avatars
Once the core character works, refinement becomes less about “can this tool do anime” and more about control. That’s where the outputs stop feeling random and start feeling authored.
The broader market is pushing in that direction. The anime market is projected to reach $28.3 billion globally in 2024, and 42% of users aged 18-34 use personalized anime avatars for profiles and content. Tools now reach up to 95% identity accuracy in transformations, according to Fotor’s photo-to-anime overview. The demand is obvious. So is the pressure to get results that are both stylish and recognizable.
Use prompts to subtract, not just add
A lot of users only think in additive prompts. More detail, more effects, more mood words. That often muddies the output.
You’ll get cleaner results if you also define what shouldn’t appear. If a tool supports negative prompting or exclusion fields, remove the things that commonly drift:
- extra accessories
- face-obscuring bangs
- glasses if the source person doesn’t wear them
- cluttered background details
- exaggerated mouth shapes
This is especially useful when the model keeps “helping” by introducing visual clichés that don’t belong to your character.
Build a mini character bible
If you plan to reuse the character, write down the essentials in one place. It can be plain text. No fancy template needed.
Include core hair shape, eye color if relevant, clothing anchor, personality vibe, and preferred style keywords. If you later move from avatar generation into sequential art, that small reference note saves a lot of rework. It also pairs well with examples of comic book style artwork when you’re trying to match a broader visual direction.
Consistency comes from repetition of the right details, not from making every image identical.
Check privacy and usage terms before you commit
This part gets skipped because it isn’t fun, but it matters. Different platforms handle uploads, generated assets, and commercial use differently. Before you build a gift, a brand mascot, or a monetized project around an anime character, read the platform terms.
Look for three things:
- Image retention. Does the platform keep uploaded photos?
- Output rights. Can you reuse the generated image commercially?
- Training language. Are uploads used to improve the model?
If those answers are vague, assume you need more clarity before using the output in anything public-facing or paid.
Polish with consistency checks
Before you finalize an avatar set or comic-ready character, review the results for drift:
- Hairline drift makes the character look like a different person faster than most users expect.
- Eye scale drift can turn an elegant anime style into an off-model one.
- Jawline drift often happens when switching from portrait to action scene.
- Outfit drift weakens storytelling because readers lose the visual anchor.
A quick side-by-side review catches these better than staring at one image at a time.
Beyond the Image Bring Your Character to Life
A finished anime portrait feels satisfying for about five minutes. Then the next idea shows up. What would this character look like in a festival scene, a battle sequence, a school hallway, a wedding moment, or a quiet final panel with real dialogue?
That’s where the medium gets interesting. A static image shows design. A story shows personality. Once your character can react, speak, and move through scenes, the anime version of you stops being a novelty and starts becoming a creative tool.
This is why the strongest projects usually begin with a photo but don’t end there. They turn a memory into a scene, a joke into a comic beat, or a relationship milestone into something you can hold onto and reread. The visual transformation is only the entry point. Narrative is what makes it stick.
If you want to push further, look at what an AI book maker makes possible when images, scenes, and written story beats start working together. That’s the leap from “I made an anime avatar” to “I built a world around this character.”
If you want to go beyond a single generated portrait, PersonalizedComics turns photos and ideas into full comic books with dialogue, panels, and consistent stylized characters. It’s a strong fit for gifts, keepsakes, and story-driven projects where an anime character should do more than just stare at the camera.